
Docker Nanoserver base image Windows
Here we will make a windows Docker image which uses Windows Nano Server as the base image
This is great for deploying your .Net apps on Docker
Prereqs
- Docker Desktop installed on Windows Enterprise, Pro or Educational machine
- Windows Home edition will not work since Hyper-V needs to be enabled and Windows Home just doesn't offer it
- Hyper-V feature enabled
- Visual Studio
- Or the .Net 6.0 SDK
- A .Net app (.Net versions 3.1, 5.x and 6.x)
- .Net Framework apps won't work on Nano Server (.Net versions 4.x)
Create the app
First we need to create a sample .Net app
This creates a new folder App with a very simple console app in it using .Net version 6.0
Edit the app
We're just going to edit it slightly to loop after saying “Hello world!”
Console.WriteLine("Hello, World!");

for (int i = 0; i < 500; i++)
{
    Console.WriteLine("Sleep for 2 seconds.");
    Thread.Sleep(2000);
}
Build the app
We'll build the app and copy the binaries into the container image
Navigate to the App directory and run:
This will create the precious binary files at App/bin/Release/net6.0/publish
Create Dockerfile
Here is the final Dockerfile, though I will explain each part below
FROM mcr.microsoft.com/powershell:lts-nanoserver-1909

# Run as admin
USER ContainerAdministrator

# Make default shell powershell
SHELL ["pwsh", "-command"]

# Dotnet 6.0.101 install
WORKDIR Users\\Example\\dotnetinstall\\6.0.101
RUN Invoke-WebRequest -OutFile dotnet-install.ps1 -URI https://dotnet.microsoft.com/download/dotnet/scripts/v1/dotnet-install.ps1
RUN .\dotnet-install.ps1 -Version 6.0.101 -InstallDir """C:\\Users\\Example\\\\dotnetinstall\\6.0.101"""

# Copy the application binaries into the docker image
COPY App/bin/Release/net6.0/publish/ C:\\Users\\Example\\App

# Run the application binaries as the main container program
WORKDIR C:\\Users\\Example\\App
ENTRYPOINT ["C:\\Users\\Example\\dotnetinstall\\6.0.101\\dotnet.exe", "C:\\Users\\Example\\App\\DotNet.Docker.dll"]
FROM mcr.microsoft.com/powershell:lts-nanoserver-1909 is to specify which Docker image we want to use as the base image. This powershell:lts-nanoserver-1909 image is from Microsoft's powershell docker hub. It comes with really lightweight version of the Windows OS called Nano server which is great for containers, since you generally want to keep container images small.
This powershell:lts-nanoserver-1909 image also comes with a new version of Powershell 7 called pwsh (read more here).
pwsh is an open-source cross-platform version of Powershell. There are a few extra steps to get it to do all of what previous versions of Powershell could do which I will cover in a different article.
USER ContainerAdministrator is to make the commands run as admin, since this is not set by default in Windows (Linux it is default). Basically without this command, any subsequent steps can't access files downloaded/copied from previous steps.
SHELL ["pwsh", "-command"] is to make the commands that happen in the RUN sections executed through pwsh instead of the default cmd
WORKDIR Users\\Example\\dotnetinstall\\6.0.101 is to make a folder in the container image with the given path to use as a workspace. It also navigates to this directory for any subsequent commands.
RUN Invoke-WebRequest -OutFile dotnet-install.ps1 -URI https://dotnet.microsoft.com/download/dotnet/scripts/v1/dotnet-install.ps1 is to download a dotnet install script and then the following command is to install the dotnet runtime into the C:\\Users\\Example\\\\dotnetinstall\\6.0.101 directory. We later use this runtime package to actually run our .Net app.
Instead of manually installing via this dotnet-install.ps1 script, you could alternatively use mcr.microsoft.com/dotnet/aspnet:6.0 (read more here) as the base image, but I personally find it hard to debug since it doesn't come with cmd, powershell, pwsh, or any sort of shell.
COPY App/bin/Release/net6.0/publish/ C:\\Users\\Example\\App is to copy the folder with the binaries into the container image.
WORKDIR C:\\Users\\Example\\App is to create a working directory and finally ENTRYPOINT ["C:\\Users\\Example\\dotnetinstall\\6.0.101\\dotnet.exe", "C:\\Users\\Example\\App\\DotNet.Docker.dll"] is to tell Docker to invoke the dotnet runtime which we installed as the main entrypoint of the container, and to pass it the DotNet.Docker.dll file as an argument. This will essentially start our app and print "Hello world!" and then loop.
Build the Docker image
Run this command from just outside the App directory. Ensure the Dockerfile is also just outside the App directory.
Remember: you have to enable the Hyper-v feature for Windows 10 Enterprise, Pro or Educational. Windows 10 home will not work.
You must also ensure that Docker Desktop is using Windows Containers:
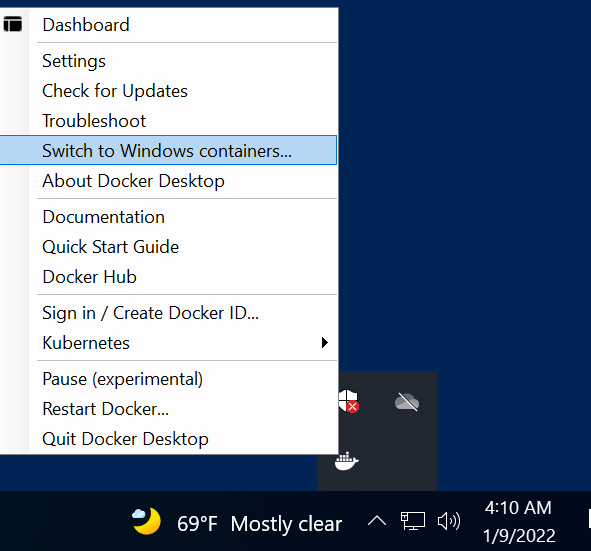
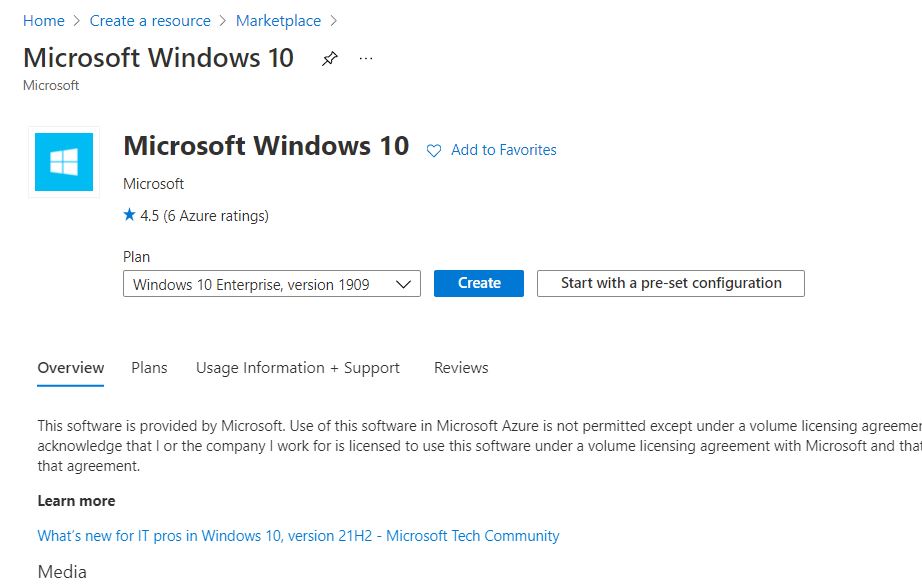
If you need quick access to a Windows 10 Enterprise machine, you can create one in Azure Portal
Run image

You can also interactively run powershell commands in the container with:
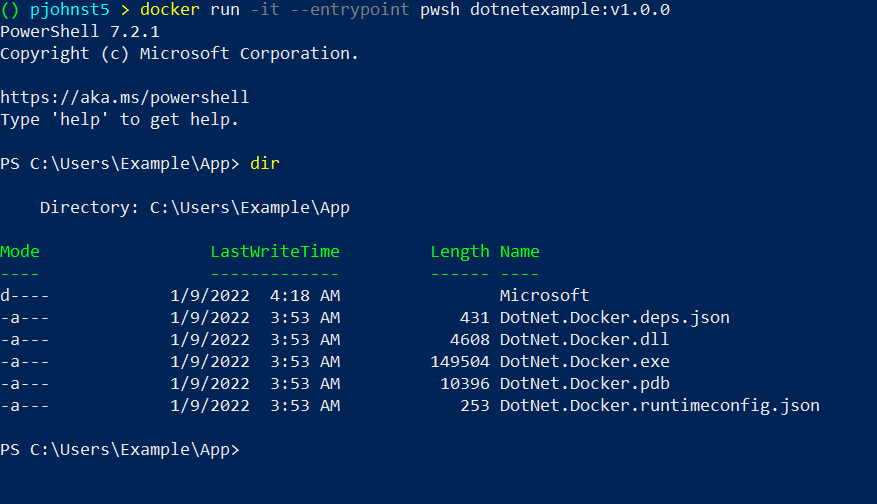
You’ve done it!